14/06/2016
Today was the day I've been looking forward to most as this is my specialism. It was a very hands on day and we covered two really strong projects for KS3.
The first was making a wooden sailing boat.
The boat was made out of Jelutong as it is very easy to work with and shape and it is also relatively cheap so is ideal for using with a KS3 class.
We each got given a piece of wood and were told to cut the front and back of the boat. This introduced us to marking wood and using tools such as an engineers square and a marking gauge.
This was then cut out and sanded - introducing everyone to using a tenon saw and the appropriate way to hold it and cut the wood using a bench hook.

We then marked out where the cabin would be and were shown how to chisel out the wood for it to fit into. This was the hardest bit and had a varied success rate within the class but was a good way of learning about these techniques.

Finally, a hole was drilled for a piece of dowel to create the mast.
We could then begin to customise the boats how we wanted.
This only took us a morning, but in a school, this would be a longer project over a few weeks and I think this is one that gives a really thorough introduction to RM.
In the afternoon we did a metalwork project where we made a monster.
This was done by cutting into and changing a piece of square steel bar with a hacksaw and files and then bending it. Holes were then drilled and legs were made out of steel bar that was bent in a vice with a hammer. The legs were then braised into position.
This introduced us to a basic metal toolkit and techniques in a fun way that had the scope to be as simple or advanced as people wanted it to be. It would get children thinking about material properties, health and safety and processes and equipment so is a brilliant starter project for KS3.


05/07/2016
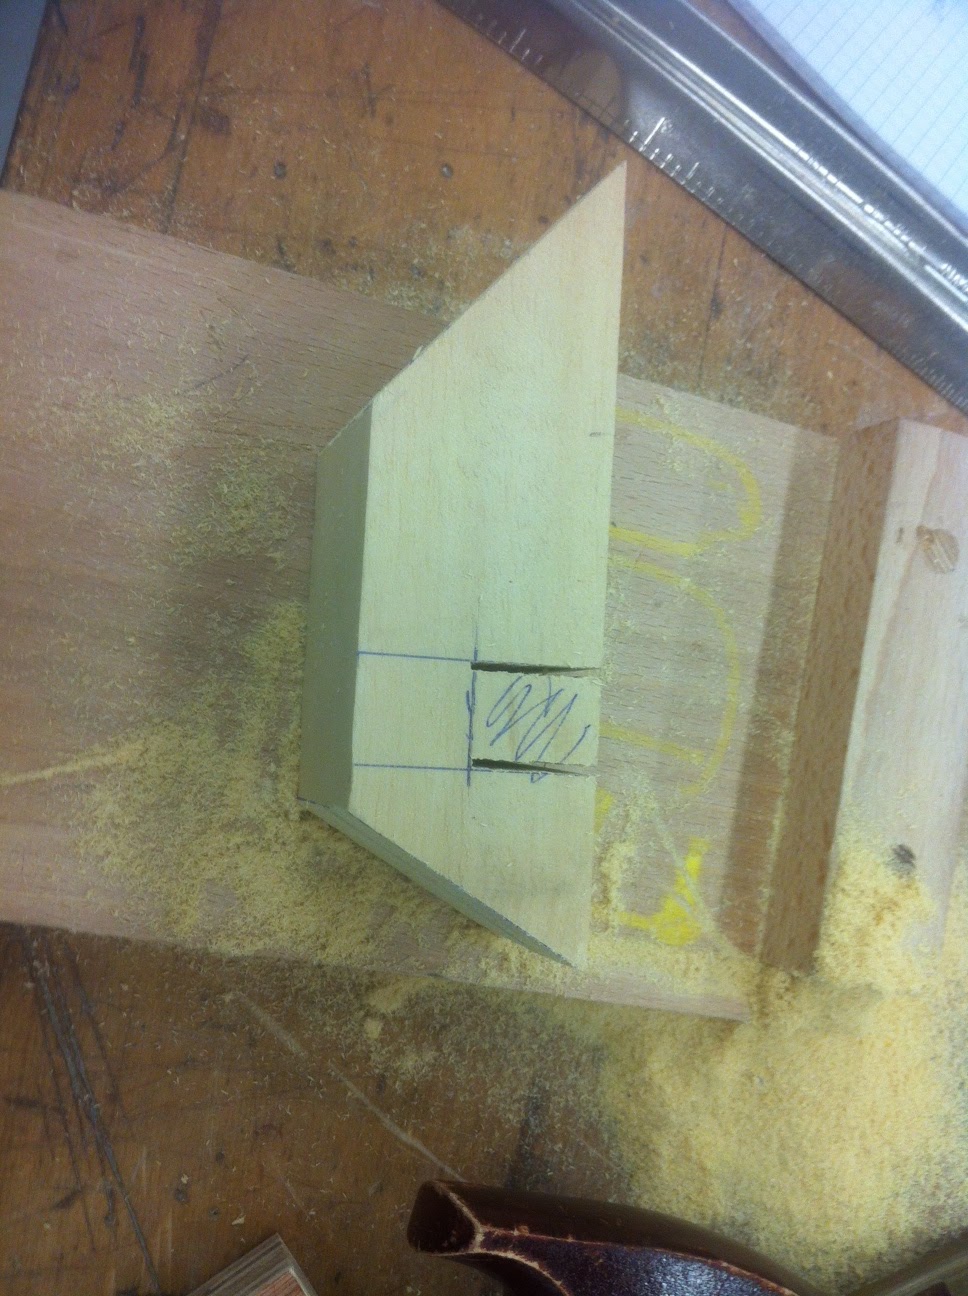
Today had a similar set up to last time. This morning we did a woodwork project where we made a beech photo frame. It was constructed using lap joints and screws with a rebait routed in for an acrylic sheet that is held in place.
This built on what we learnt last time as we used the same basic toolkit, including the chisel and mallet for the lap joint and using the tenon saw accurately.
The frame also relied heavily on marking out correctly and being careful when working into the wood as everything needed to be very snug to fit together.
We were also introduced to tap and dies as the frame was held together with two bolts in the top corners and then two screws that went into a piece of aluminium rod which had been turned down on the lathe and a hole drilled down the centre which we then put a thread in so it would all join correctly.
This also starts introducing children into mixing materials and combining the three main materials that are the focus of the RM spec - Wood, Metal and Plastic.
This could be extended by decorating the frame.


